

The orchid is a flower that exudes elegance and a certain special quality, so powerful in its beauty, yet at first glance, “too delicate”. It is one of the most popular houseplants, both because of its lavish flowers and its long flowering period.
However, many people are apprehensive about repotting, as they consider the orchid to be very fragile and believe it will dry out very quickly after being moved to a new environment. However, in practice, this is a simple process if you follow all the necessary steps. Read on to find out what you need to do to repot your orchid correctly.
How to repot an orchid – basic steps
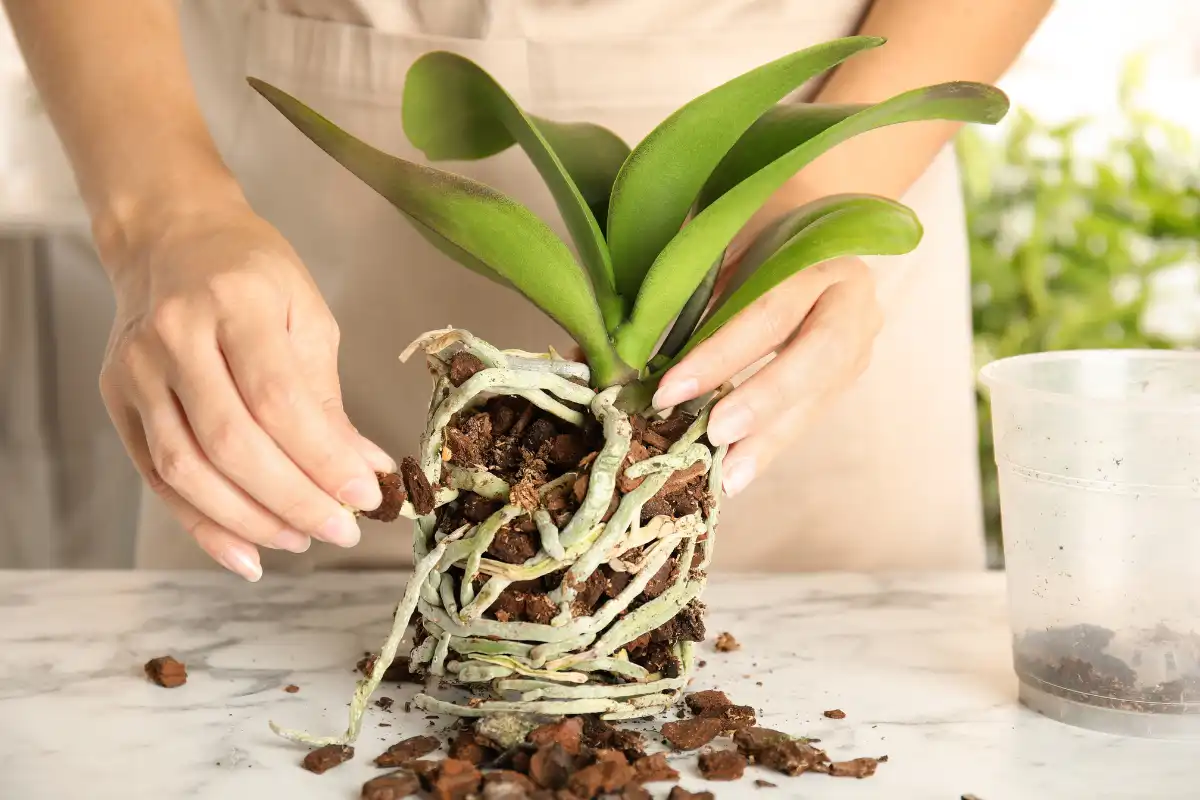
The first step is to carefully remove the plant from its old pot. You can do this by gently gripping the orchid at the base and gradually pulling it out, without pulling on the leaves or flower stem. After that, gently shake off the old potting mix so you can inspect the roots. Remove as much of the old mix as possible so you can replace it with new, fresh potting mix. Orchid substrate.
It is then advisable to wash the plant's root in a larger container. Also, if you can find a special disinfectant at a garden centre, it would be an excellent idea to use it to remove any potential pathogens from both the root and the leaves of the plant.
In most orchids, particularly the Phalaenopsis species, the roots are the best indicator of health and should look firm, plump and silvery when dry, and green when moist.
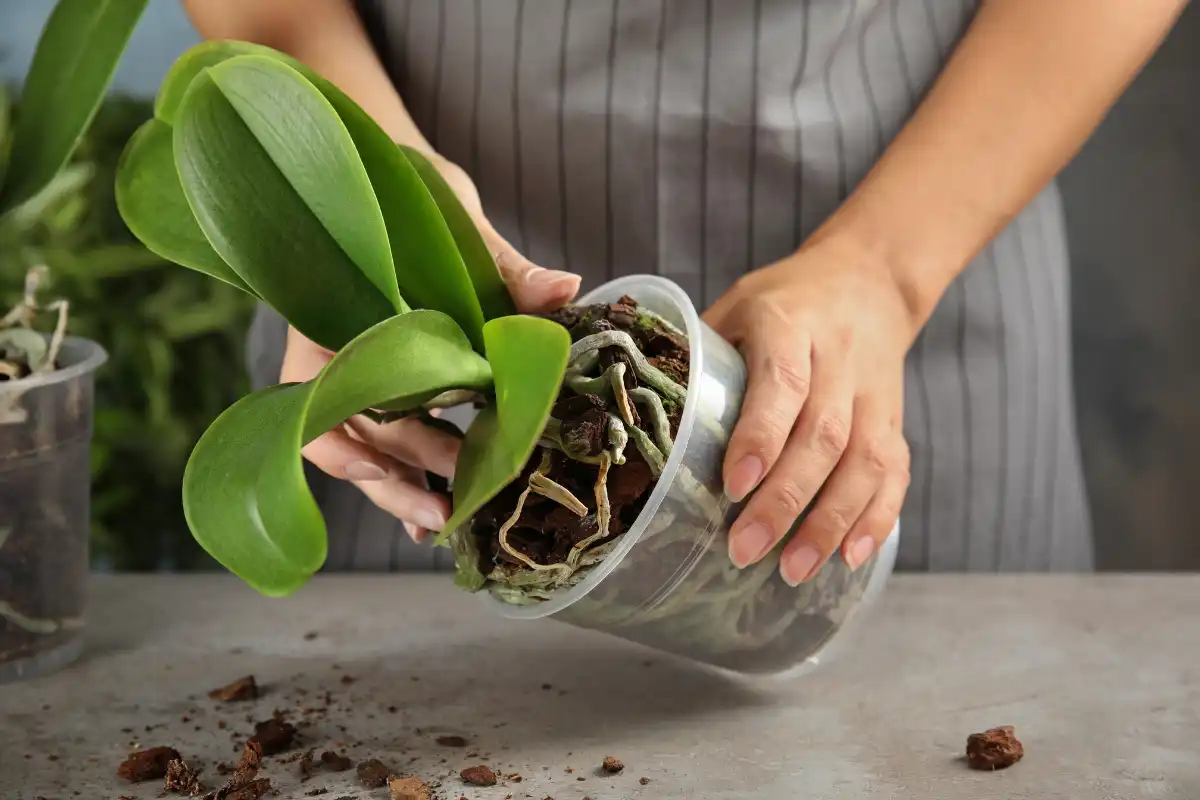
Anything that looks dark, mushy, soft or hollow should be removed with scissors down to the first 100% healthy part, i.e. to the first nodus (joint, knee). Remember that the cuts must be made with sterile scissors to prevent the spread of infection, and with sharp blades to ensure clean cuts. Once the root is cleaned, the plant is placed in a new, transparent pot with wider holes at the bottom.
This is an important point, as a transparent pot allows light to pass through and enables the roots to photosynthesise, a characteristic that sets orchids apart from most houseplants.
The substrate is added gradually, so that the space between the roots is filled without being compacted. The aim is for the root to have sufficient support, but also enough air.
After repotting, allow the orchid to rest for a few days before its first watering. This rest will help the small wounds on the roots to heal.
What sets this plant apart is the appearance of its roots. Orchids are not typical plants that grow in the ground. Their roots must be constantly aerated and surrounded by a substrate that mimics tree bark.
That is precisely why a well-performed repotting can completely rejuvenate the plant. With this step, you will ensure that:
- The root becomes healthier
- The leaves become shinier
- the plant begins to flower more profusely
What is the best substrate for orchids?
Orchids prefer a substrate that is both stable and porous. A special substrate with a pH value of 5.3 ±0.4 in CaCl₂ is most commonly used, enriched with a WA-wetting agent that improves moisture absorption and retention. This type of substrate feeds the orchid's roots and provides an ideal balance between moisture retention and aeration. The bark must not be too fine or powdery, as it will then retain moisture and lead to rot.
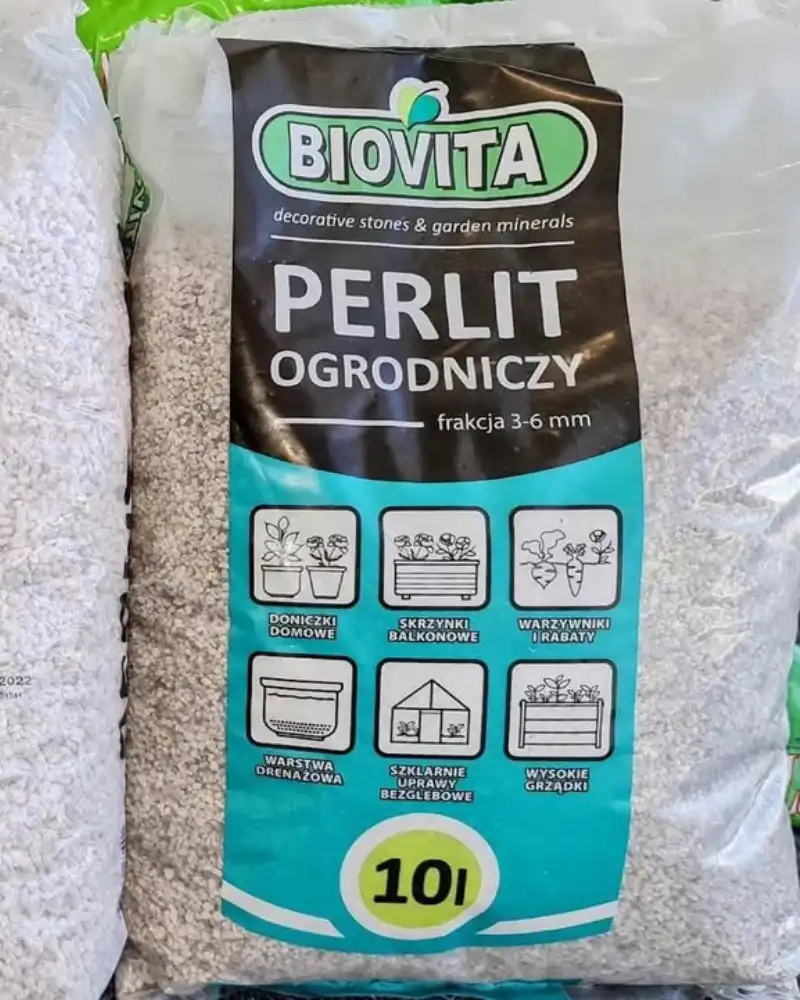
Coir fibre, perlite or peat chips can be added in small quantities, but always ensuring the substrate remains loose and there is sufficient air around the roots, so that the substrate is not too compacted.
When you combine these ingredients correctly, you will create an environment that most closely resembles the one in which orchids grow in the wild, as if they were attached to branches, where the air is constantly around them.
On the other hand, if the substrate is too compacted or too wet, the orchid shows it very quickly and starts to “protest”; its leaves turn yellow, the roots soften, and the buds drop off. Therefore, the quality of the substrate is one of the key factors for success.
How to repot an orchid keiki?
Orchid keikis, popularly known as “keiki“, are a favourite with many. These little plants develop on the flower stem and can become completely new orchids. When a keiki has a few leaves and roots at least 3–4 cm long, it is time to separate it.
Using a sharp, sterile tool, the keiki is cut off along with a small part of the stem on which it has formed. This will make it easier to root, as the young plant has a natural point of support.
Unlike a mature orchid, a keiki is most often planted in a slightly finer substrate, with smaller bark and a little more fibre, so that the young roots have sufficient contact and moisture. The young plant is kept in a bright spot, out of direct sunlight, and watered very carefully.
Bear in mind that the first weeks are the most sensitive, but once the keiki takes, the progress is rapid and noticeable.
When should an orchid be repotted?
Although many people think that repotting should be done when a plant starts to turn yellow and look unhealthy, the right time is actually much sooner than that.
Orchids are most often repotted every two to three years, or when you notice that the potting mix has broken down, shrunk when watered, or turned into fine particles. Broken-down potting mix means it retains too much water, which can be harmful to the roots.
Other signs that it is time to transplant are:
- The roots have outgrown the pot and are coming out in large quantities.
- The substrate remains damp for days after watering.
- The pot becomes too small or unstable
- You notice rotten parts of the root
The best time for transplanting It is the period after flowering, when the plant enters a resting phase and more easily tolerates a change of substrate.
Repotting orchids is not a complicated process. The key is understanding their nature, the gentle process of cleaning and removing all damaged parts, disinfection and, of course, the most important component: the correct choice of potting medium.
When the correct substrate, a transparent pot, and proper handling of the root are used, the plant quickly adapts to the new conditions, recovers, and produces more beautiful flowers.


Price range: 1.140,00 RSD through 3.534,00 RSD
Select options
This product has multiple variants. The options may be chosen on the product page
Price range: 105,00 RSD through 1.056,00 RSD
Select options
This product has multiple variants. The options may be chosen on the product page
Price range: 684,00 RSD through 2.622,00 RSD
Select options
This product has multiple variants. The options may be chosen on the product page


Price range: 3.351,00 RSD through 3.408,00 RSD
Select options
This product has multiple variants. The options may be chosen on the product page