

Almost all plants require transplanting, which is one of the most necessary measures of care in order to allow plants to grow and develop properly. There are a few rules you should follow in order to transplant your plant so that it thrives smoothly, safely and quickly in its new environment.
Stay with us until the end of the text and find out how to properly transplant plants in autumn, why it is recommended and what are the steps for healthy plant growth.
Why is it important to transplant plants in autumn?
Fall transplanting of plants is recommended due to soil temperature, rainfall, entry into dormancy, chance of overwintering, absence of pests and diseases, as well as numerous other reasons. To clarify:
- A temperature that is not stressful for the plants: In autumn, the days are milder, without extreme heat, and therefore the plants have a significantly lower risk of drying out, their roots have time to recover, and the plant does not spend energy on adapting to the air, but on forming roots. Fall temperatures create favorable conditions both inside and outside the country. This is also important for indoor plants because the air is not extremely dry as in summer and during the winter days when it is the heating season, therefore the autumn period is ideal for transplanting as far as the air temperature is concerned.
- Soil heat: Even though the air is colder, the earth during autumn preserves the heat accumulated during summer days, so its temperature is ideal for the growth and development of plant roots. When it is cool outside the ground and warm in the ground, then perfect conditions are created for the plant to take root quickly. This is the reason why plants transplanted in autumn by spring already have a strong, formed root and start growing better at the start.
- Precipitation and lack of watering: We know that plants much prefer natural moisture and that they like rainwater better than the water we water them with. Precipitation enables stable and even soil moisture, which favors root development.
- Entering plants into the resting phase: During the autumn days, all the energy of the plants is transferred to the roots. In this period, the plants do not spend energy on flowering and leafing, but enter the resting phase and all the concentration is on the preservation and development of the roots. This is exactly the reason why transplanting in the fall hinders their development less and allows the roots to grow stronger without expending energy on the above-ground part.
- Lack of pests and diseases: Aphids, mites, fungal infections and the activity of all other pests is reduced in the autumn period, which reduces the possibility of plants becoming infected in the sensitive period after transplanting.
Transplanting plants in autumn
When in autumn is the time to transplant plants?
The ideal autumn time for transplanting is the very beginning of autumn, September and until mid-October. At this time of the year, the earth is still warm, there are no morning frosts, but the air is colder and there is a higher concentration of moisture in the earth and air, the plants enter the resting phase, end the flowering phase and all the energy goes to the root and its development.
There are plants that are pleasant to plant in late autumn, but the following should be kept in mind:
- November and December are reserved for morning frosts, so even if it's warm during the day, plants will be extremely bothered by a sharp morning frost
- after the first frosts in late autumn, the soil cools down and the roots cannot develop
- if there are frequent rains in late autumn, the soil is muddy and the roots lack oxygen
Therefore, except for plants that actively bloom in autumn, the best period for transplanting is September, October and the first week of November at the latest.
How to transplant a plant to develop a strong root?
When transplanting plants, the most important thing is preparation. First, prepare the appropriate I quality substrate, good quality soil and sand to allow the roots to stay in loose soil. Then prepare the drainage layer (gravel, pebbles, pieces of broken tile), mycorrhiza or root bioactivators as desired, water and tools (ash, hoe, rake).
Transplanting garden plants - step by step
- First, water the plant well, preferably the day before, so that the roots have enough water so that they do not experience shock after changing the soil. Moist soil holds the roots together, does not disintegrate and significantly reduces stress.
- Dig a hole 2x wider than the diameter of the root, the same depth as it was in the old place. Clean the hole well and then mix compost with sand, which will allow oxygen to flow through the soil to the roots. At the bottom of the planting hole, do not put sand alone, but mix it with compost, so that a plug does not form between the soil and the sand and that the water does not sit for too long. Keep in mind that the compost is not placed too deep, but around the root ball itself, never under the root in a large amount so that the root does not grow deep and retain water.
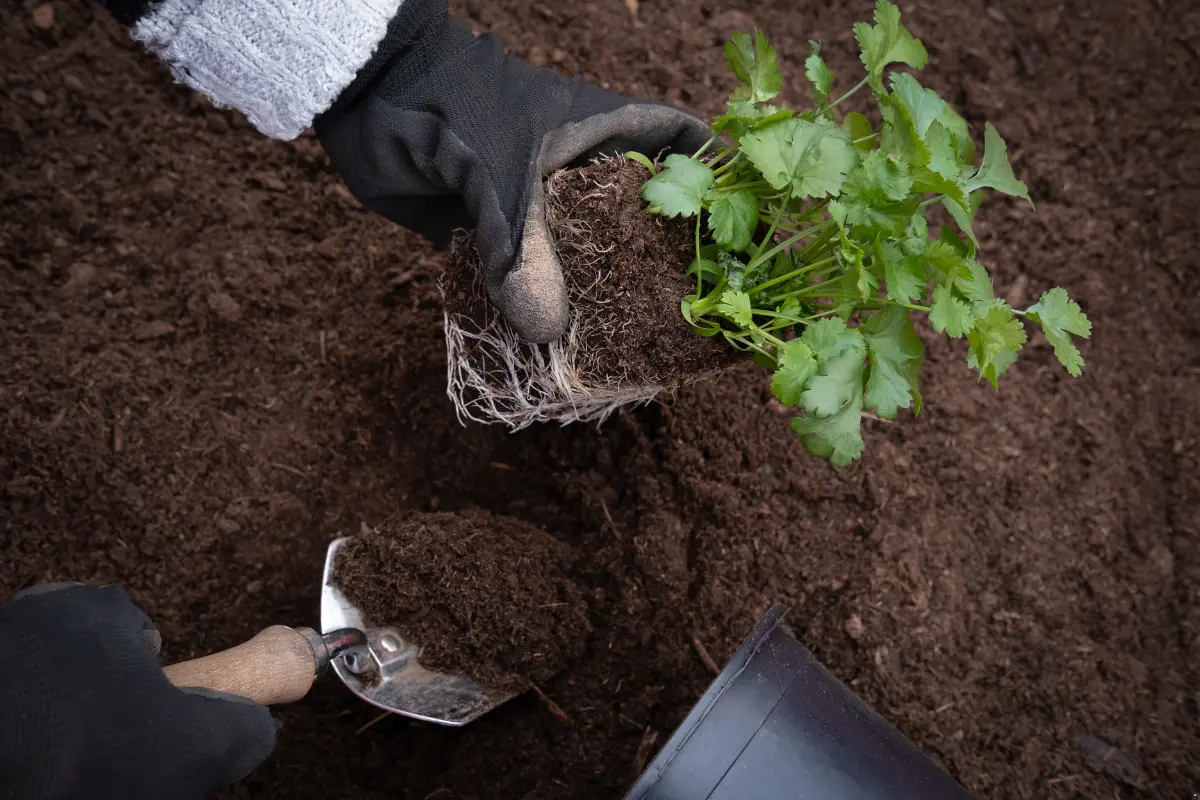
- Dig the plant in a wide circle so as not to damage the roots, so try to pull the plant with as much soil around the roots as possible. Do not shake the soil in any way to preserve the natural soil around the roots.
- Place the plant in the center of the excavated hole, fill with loose soil and compact it lightly with your foot, not too hard. Once you have removed the air and filled the space around the roots, form a hollow around the plant. The soil around the plant should be a little lower so that the water remains and slowly enters the soil to soak the roots.
- Now water abundantly, if the water disappears quickly, water again. If you see that the layer of soil has dropped significantly after watering, add more with a gentle footing, and leave a depression again.
- For autumn planting, it is convenient to place a layer of mulch around the roots in order to preserve moisture, prevent sudden cooling of the soil, stabilize the temperature of the roots and reduce the risk of freezing.
In the spring, it is enough to remove the mulch, add a new layer of compost around the plant, water regularly and add fertilizer for flowering when the vegetation starts.
Transplanting a houseplant
Indoor plants are transplanted by first preparing them suitable substrate, pot 2-4 cm larger than the previous one, drainage layer in the form of gravel, pieces of tile or terracotta pot.
- The first step is to water the plant in the existing pot. The plant should be watered at least 2-3 hours before transplanting to keep the soil around the roots and to make it easier to remove the plants from the pot. If you plan to transplant the plant in a terracotta pot, soak it in lukewarm water for at least one hour before planting so that it has enough moisture for the new roots.
- The bottom of the new pot should be covered with a drainage layer of 1-2 cm so that the water can drain faster when watering, and then with a layer of compost.
- We then take the plant with our left hand, turn it over and slowly remove the old pot with our right hand. Carefully remove the soil around the roots of the plant and place it in the center of the new pot. Compost is gently added around the roots with minimal pressing at the end to remove air around the roots and fix the plant. We fill the compost 1.5 cm below the top of the pot to prevent water from spilling over the edge of the pot.
- We then water the plant thoroughly and slowly, but not excessively, because the new substrate is fresh and moist, so the plant must not stand in water.
When to transplant indoor plants?
Indoor plants are transplanted when the plant looks crowded in the pot, when the roots come out through the holes in the bottom of the pot, when you notice that the plant is drying out too quickly and is constantly asking for water, or when it is evident that the soil inside the pot has washed out from watering.
Also, when the aerial part of the plant seems too big for the pot, it is very likely that the roots are also tight, so it is the right time to transplant. Do this procedure in early autumn for the reasons mentioned at the beginning of the text.
Rules for transplanting plants
The rules we present below will help your plants welcome spring with strong and healthy roots:
- Repot indoor plants only when they really outgrow the old pot
- Always use a pot 2-4 cm larger than the previous one
- Be sure to check that the pot has enough holes in the bottom
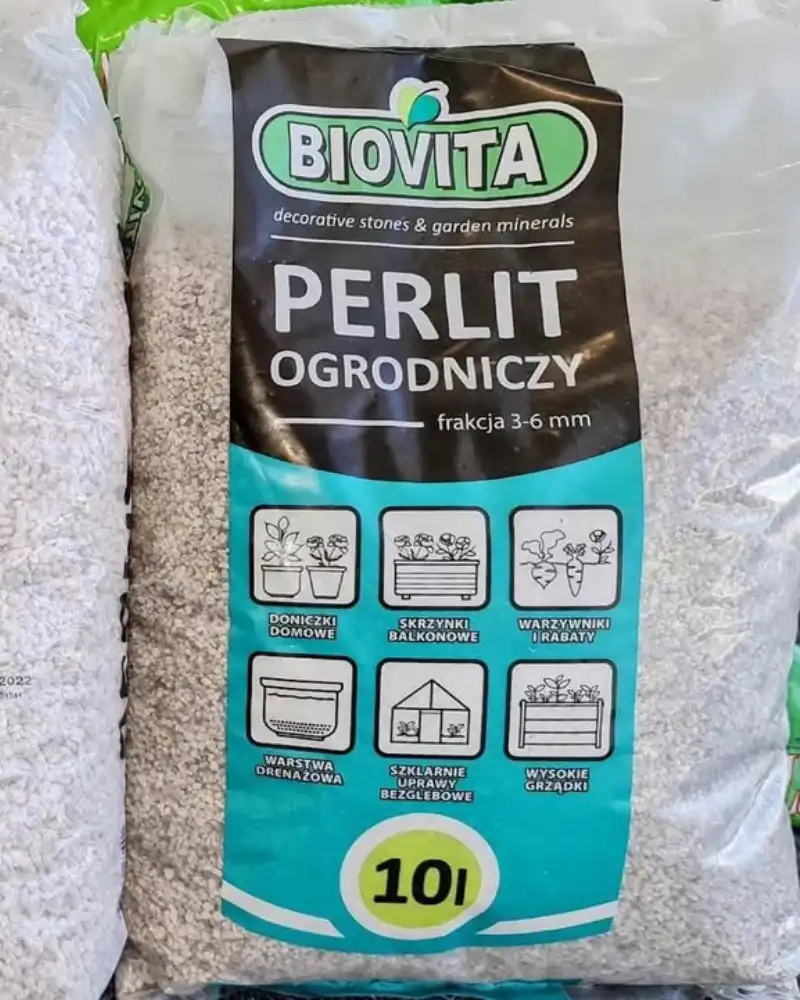
- If the gravel makes the pot difficult for you, use expanded clay, larger perlite or pieces of Styrofoam
- Make a loose substrate that makes 50% universal substrate, 25% perlite, 25% coir and possibly some sand to provide air to the roots
- For the first 7-10 days, do not move or fertilize the transplanted indoor plants, do not place them in strong light sources and do not water them too often so that the roots do not rot.
- Fertilize indoor plants only when you notice that the plant has accepted and started new growth
Give your plants enough care so that in the spring you will be greeted with healthy, green leaves and flowers that you will be proud of. Everything you need for autumn transplanting of plants is waiting for you in our store online shop-u.


Price range: 1.140,00 RSD through 3.534,00 RSD
Select options
This product has multiple variants. The options may be chosen on the product page
Price range: 105,00 RSD through 1.056,00 RSD
Select options
This product has multiple variants. The options may be chosen on the product page
Price range: 684,00 RSD through 2.622,00 RSD
Select options
This product has multiple variants. The options may be chosen on the product page


Price range: 3.351,00 RSD through 3.408,00 RSD
Select options
This product has multiple variants. The options may be chosen on the product page